Simple accounting software that makes you even smarter.
Simple, beautiful, and powerful, ZipBooks gives you the tools and intelligence to take your business to the next level.
Get started

-
Why not have bookkeeping software that is delightful and intuitive? Do you like using your old, boring software? Nah, didn't think so. ZipBooks rocks!

-
I never studied accounting, but I found this software to be very user friendly for basic bookkeeping. I was able to figure it out in a short period of time. ZipBooks, I love you!

-
After trying multiple platforms, ZipBooks proves to surpass all expectations. They make bookkeeping a breeze. Would recommend a thousand times over because it has been crucial to my business growth.

-
This is by far the best app that has helped me with my small business. It has made accounting, invoicing, and tracking payments a breeze! I really love it!

-
After trying multiple accounting apps for 10 years, ZipBooks was finally the solution. My clients can pay online & accept quotes through a simple, interactive process. Clients love it as much as I do.

Not Fake News: ZipBooks users spend 15% less time on mundane bookkeeping tasks.
Simple accounting is the smart move.
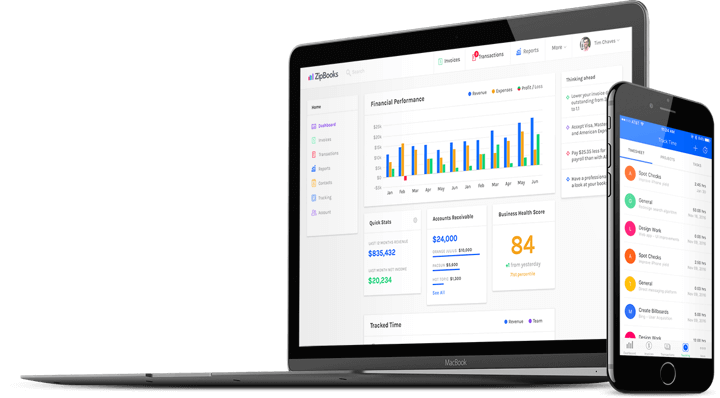
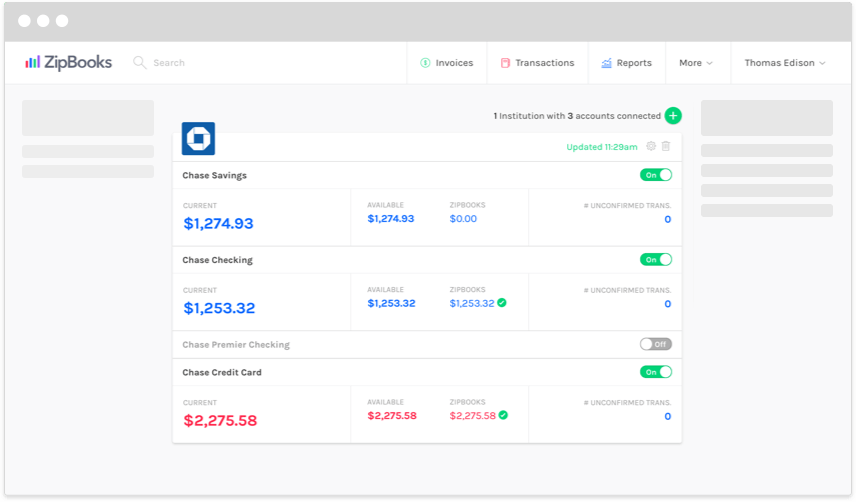
Work smarter, not harder. ZipBooks makes balancing your books and diving into insights simple, fast, and convenient.
Between auto-categorization, a single transactions interface, and dead-simple reports, bookkeeping and accounting have never been this easy.
Get startedClients are 15.8% more likely to repurchase when your ZipBooks invoice includes a logo.
Intelligent insights give you an edge.
Our data-driven intelligence goes beyond the historical reports in other accounting software to automate, predict, and advise.
Actionable insights based on millions of data points allow you to make simple tweaks with an outsized impact.
Get started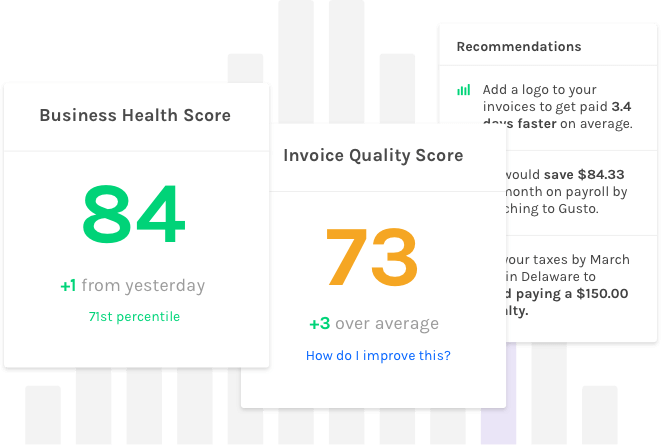
“It's accrual world. ZipBooks makes it sweet.” - A Real Customer
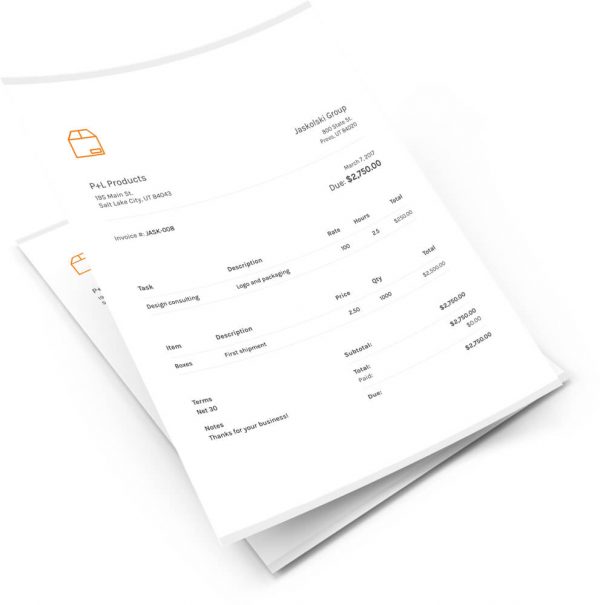
Getting paid has never been simpler.
ZipBooks lets you create and send beautiful invoices and estimates in seconds and accept credit cards with the click of a button.
Automate everything with recurring auto-bills while ZipBooks seamlessly integrates your billing into your books.
Get started
Seriously smart product suite.

-
Why not have bookkeeping software that is delightful and intuitive? Do you like using your old, boring software? Nah, didn't think so. ZipBooks rocks!
-
After trying multiple accounting apps for 10 years, ZipBooks was finally the solution. My clients can pay online & accept quotes through a simple, interactive process. Clients love it as much as I do.
-
I never studied accounting, but I found this software to be very user friendly for basic bookkeeping. I was able to figure it out in a short period of time. ZipBooks, I love you!
-
This is by far the best app that has helped me with my small business. It has made accounting, invoicing, and tracking payments a breeze! I really love it!
-
After trying multiple platforms, ZipBooks proves to surpass all expectations. They make bookkeeping a breeze. Would recommend a thousand times over because it has been crucial to my business growth.